
Get ready for a display of some fantastic 1930s knits in this new PBS MASTERPIECE series.
Baby Yoda-Inspired Knit Hat Pattern – Free!

Get the step-by-step instructions to knit your own Baby Yoda-inspired hat with this free pattern.
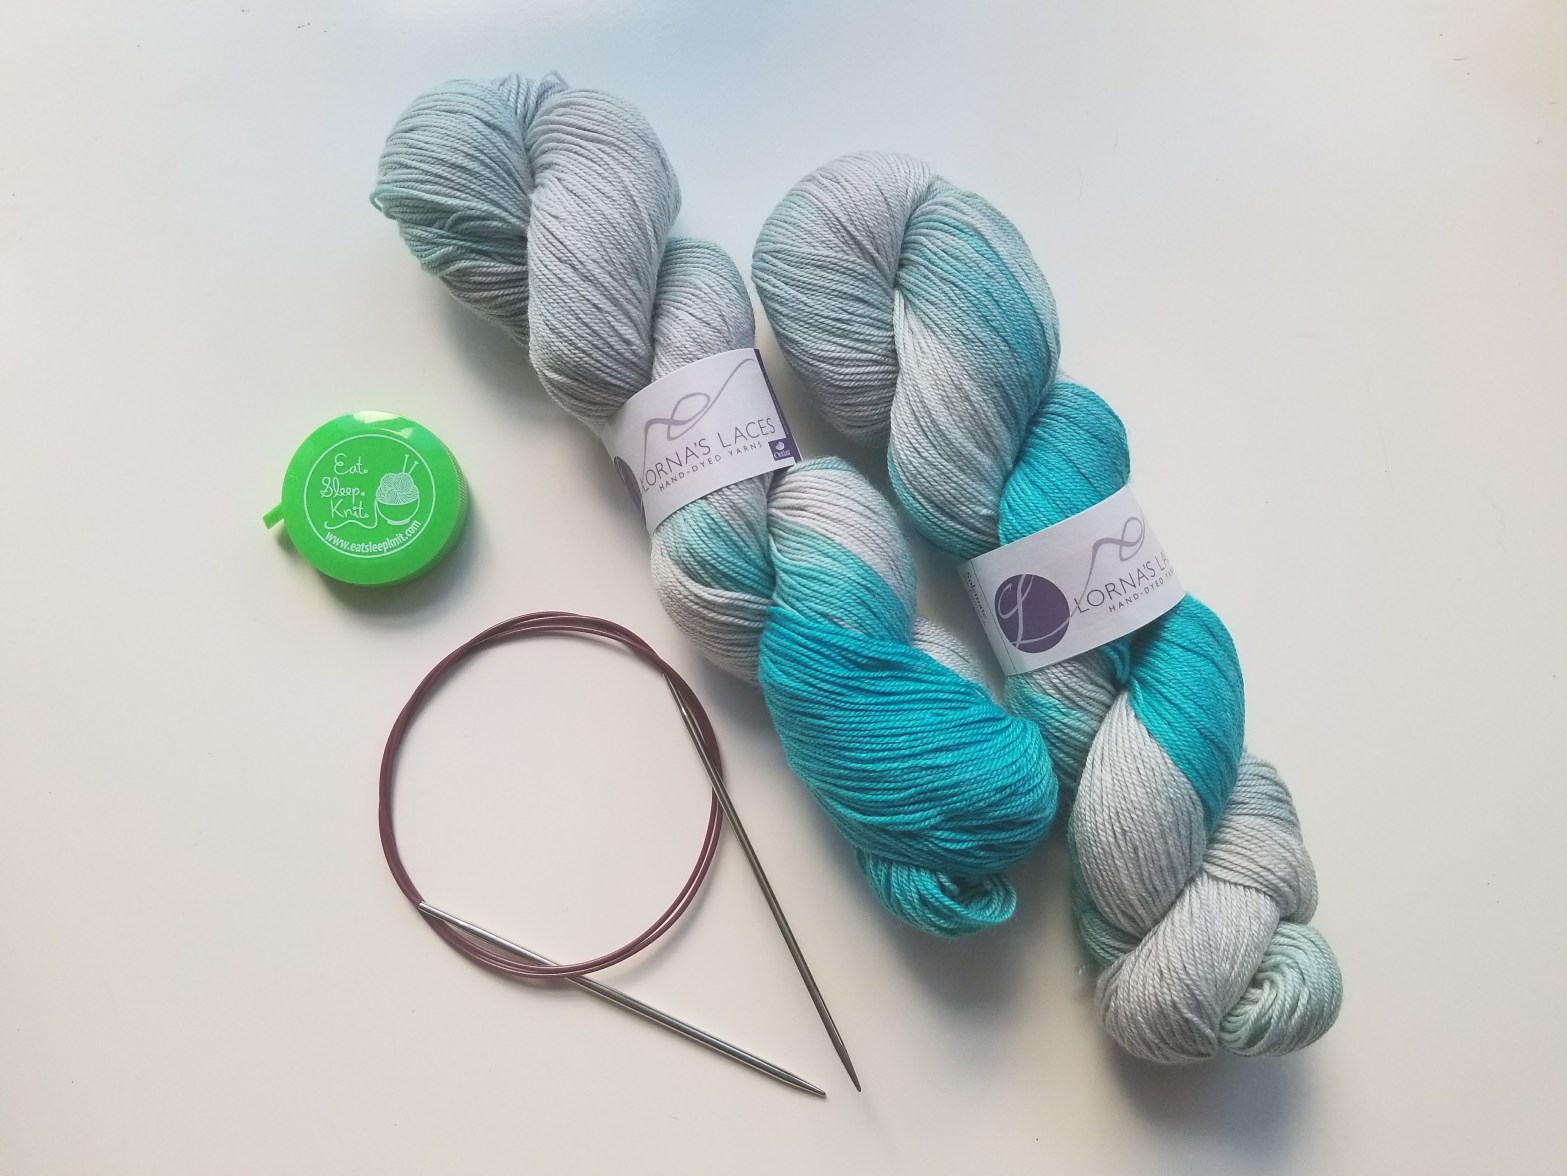
8 Must-Haves To Keep In Your Knitting Bag

I've been caught too many times without the proper knitting tool. I can't tell you how many times I've put a work-in-progress aside because I couldn't find a tapestry needle, stitch holder or some other tiny object that I needed to finish the piece. And then I uncover the project 5 months later, unfinished andContinue reading "8 Must-Haves To Keep In Your Knitting Bag"
‘Game Of Thrones’ Knits And My First MKAL
It may be the final season of "Game of Thrones," but it's my first knit-a-long. And I admit I'm more excited about the mysterious shawl I'll be making than what's going to happen in Westeros. I'm not a hardcore "Game of Thrones" fan, but I've enjoyed watching the drama play out. Sunday is the premiere ofContinue reading "‘Game Of Thrones’ Knits And My First MKAL"
Yarn: A Film With Fiber Friends
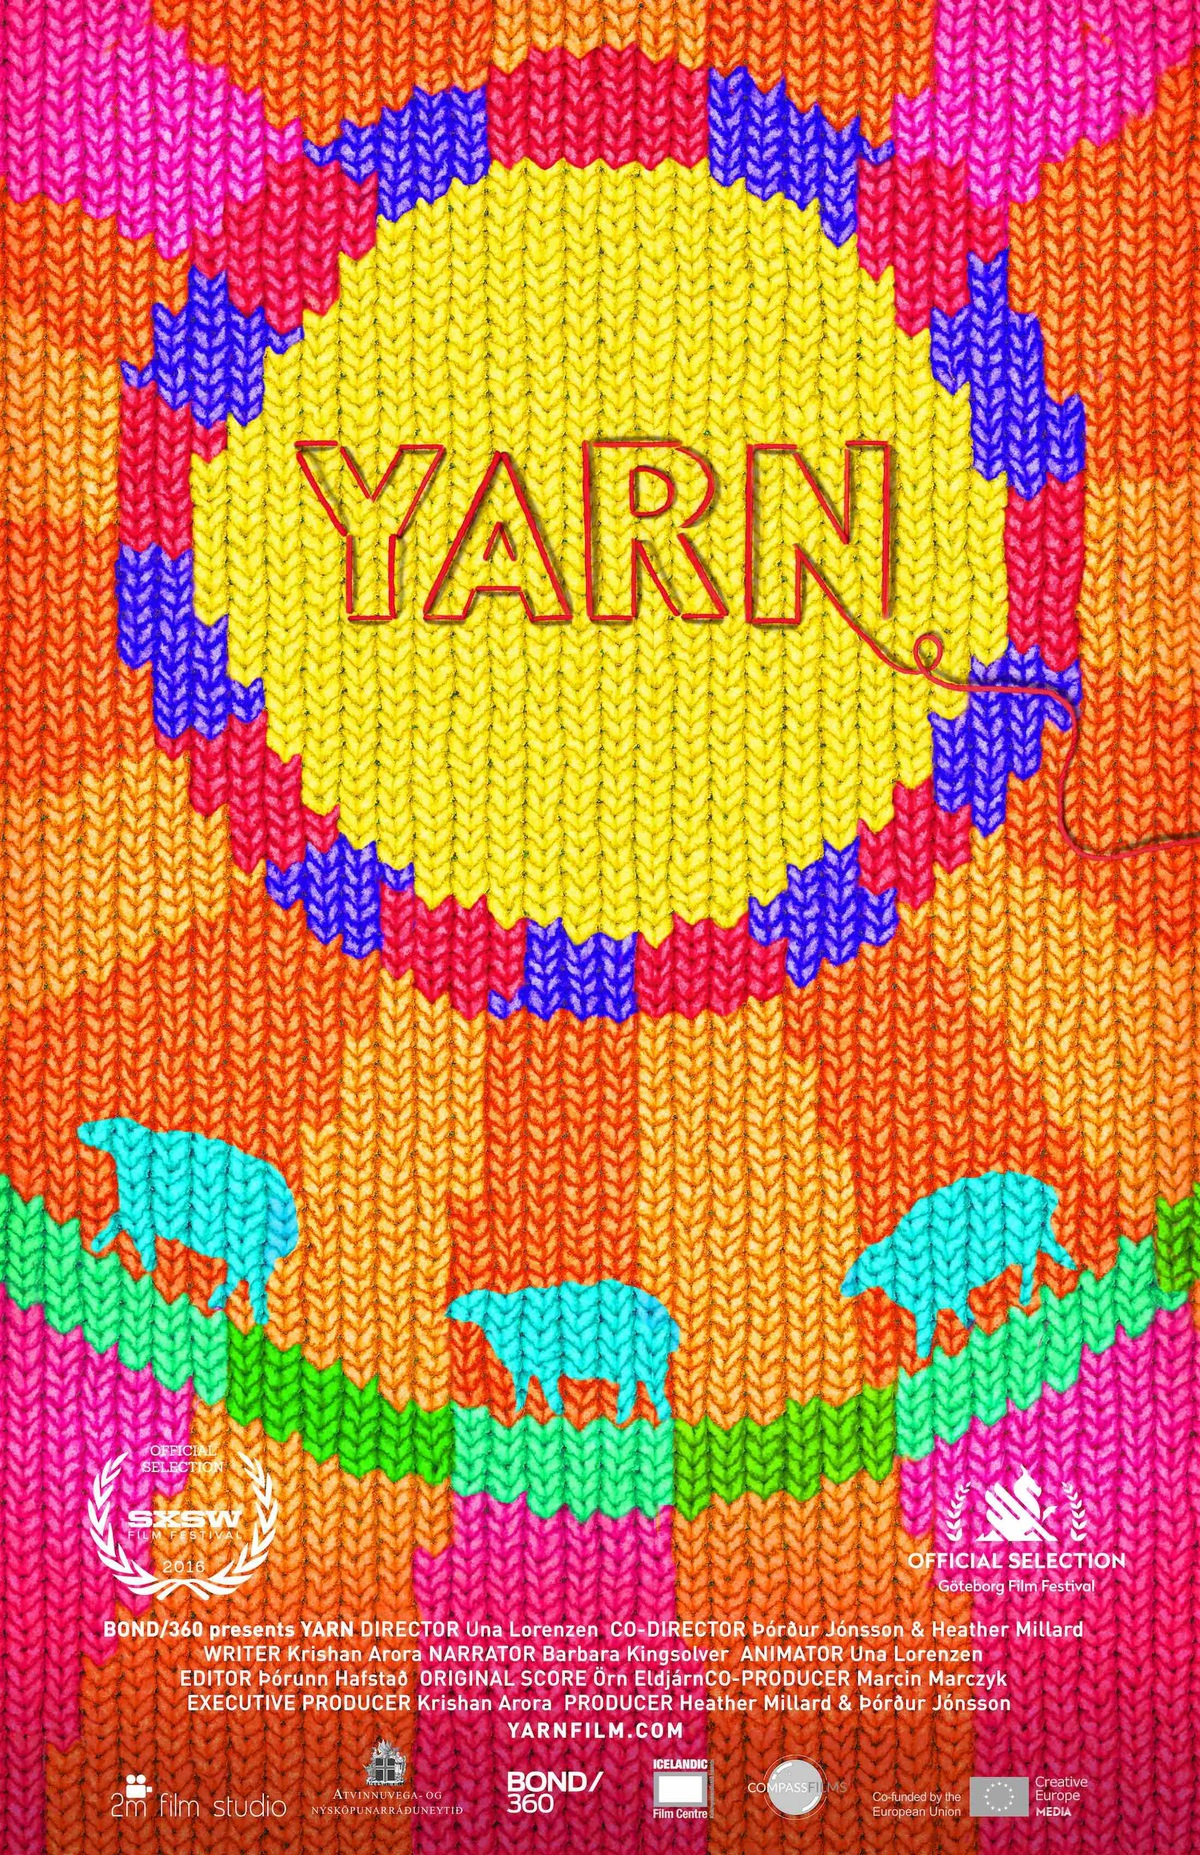
A morning out with fiber friends and the incredible film YARN.
Knitting Challenge: Arm Knitting

The 2017 Knitting Challenge is officially underway! This post is belated, but on the last weekend of January I decided to tackle an item off my Knitting Challenge list -- arm knitting. Arm knitting really started showing up in magazines and all over Pinterest last year or so. It's easy for non-knitters to pick up since noContinue reading "Knitting Challenge: Arm Knitting"
New Pattern: Two Hearts Handwarmers

We're just about a week away from Valentine's Day, so it's time to kick those knitting needles into high gear. Yesterday I talked about a fun craft project you can make with some pompoms and floral wire (no knitting experience required!). My sister and I had a great time making those. Check out the Valentine'sContinue reading "New Pattern: Two Hearts Handwarmers"
Valentine’s Day Pompom Wreath: Free Craft Project!

Valentine's Day has always been a day for making fun, cute crafts with my sister. There's been everything from tissue paper flowers to heart shaped cookies over the years. If you pass through the room during these crafting days, you're most likely to hear only the words "How cute!""Look at this!" and "Aww, I love that!" over and over.Continue reading "Valentine’s Day Pompom Wreath: Free Craft Project!"
The 2017 Knitting Challenge

I've decided 2017 will be THE year. The year for more... knitting reading organizing learning stashbusting writing dreaming big ...and designing big. Yes, I know this declaration is nothing new to read. January is when we're all thinking about how to make this year better than the last. But this year I'm feeling really motivated.Continue reading "The 2017 Knitting Challenge"
What to Knit: The Fall Edition

Autumn is my time. It's the excitement of seeing the leaves change, feeling the crisp air return after a long, hot summer, and seeing so many great new things to knit on magazine and book shelves. I recently went to the bookstore to flip through some of the latest issues of my favorite knitting magazines,Continue reading "What to Knit: The Fall Edition"
